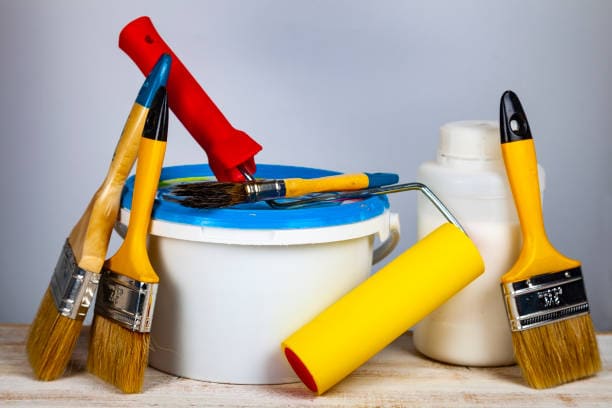
I recently had the pleasure of painting my home. We didn’t do anything fancy but did change the colours in a few rooms. What an undertaking it was to paint a room a new colour! Aside from the noticeable choosing colours and purchasing supplies, there are many things to consider when you paint. What do you do when you spill paint on your furniture? How in the world do professional painters get such perfect lines?

I love hacks, and these are some of the best I’ve seen that will work in your next painting job. If you’ve ever painted before, then you know how expensive it can be. That’s why we found some great tips and hacks that will not only save you time but also save you money.
Get pro-quality results on your next paint job with these expert tips and tools that promise ease of application, consistent colour and texture, and crisp, clean edges. So, we bring fantastic paint hacks whether you want to paint your bedroom or living room.
Equip Yourself with these Professional Tools and Tips
Painting is a great way to add personality and style to your home, but getting the results you want for inexperienced buddies can be challenging.

We’ve all been there: and you’ve promised yourself that this time it’s going to be different—this time, it’s going to look like you paid a pro. No more uneven texture, messy edges, dull patches, or drippy globs. Study up, and you’ll get the clean, consistent, wow-worthy results your home deserves.
Get Brushes Deep Clean
If you’ve ever painted with a paintbrush, you know how frustrating it can be to get all that excess paint off the brush when you’re finished to complete the next paint job. Paintbrushes are tools you can use for more than one job if you can remove all the wet paint, right? Vinegar does a beautiful job of breaking down that paint and stripping it from your brushes. They’ll look brand new when you’re finished cleaning them – ready for the next job!
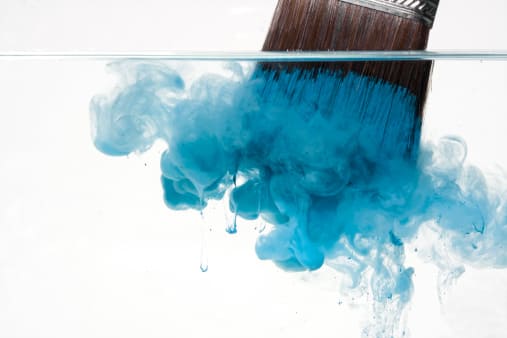
Vinegar is also great for cleaning up after painting projects. It can help clean up any spills or drips before they become hard-to-remove stains. Vinegar will also help neutralize any harmful fumes created by strong solvents that may have been used on your project (like paint thinner or varnish).
Use Fabric Softener for Cleaning Brushes
Cleaning paintbrushes is an art, and it can be a bit tricky. If you’re looking for a way to clean your brushes without harsh chemicals deep, try soaking them in fabric softener. It’s a great alternative to paint thinner or vinegar.

Fabric softener is cheaper than paint thinner, and you can use the cheap stuff from the Dollar Store. Just soak your brushes for a bit and then rinse them clean with warm water. Not only will they sparkle like new, but they’ll also smell amazing!
Remove the Paint Roller Fuzz
If you’re painting a large area, chances are you’ve got a paint roller in your hand for proper paint drying. And if you’re like most people, that paint roller is probably covered in fuzz from the cheaper ones.
But fear not! There’s an easy way to get rid of all that fuzz and ensure that your walls look smooth and perfect when you’re done painting them.

All you need is packaging tape—that’s right, the same stuff you use to seal up boxes and packages at work. Just take a few pieces of it (you can find it at any Dollar Store for just a couple of dollars) and use it like a lint roller on your paint roller. It’ll remove all that fuzz, leaving only perfectly painted walls behind!
Paint Corners with Ease
Corners are the hardest to paint. You can’t get the roller in there to cover them, and brushes leave unsightly lines & wet edges most of the time. A great way to easily cover those corners is to hot glue a paint edger refill pad to a paint stir stick. You can use the pad to cover even the sharpest corners and leave them looking just as good as the rest of your walls from paint splatter.
First, cut off the end of your stir stick halfway down from where it starts getting more expansive. Then, cut off one side of your paint edger refill pad so that it fits nicely over the other side with no overlap (if you don’t have an edger refill pad handy, you can also use an old sponge). Apply some hot glue to one side of your edger refill pad and press it against the end of your stir stick, so they’re stuck together. Let it dry before painting!
Avoid the Fumes
Did you know that you can skip the fumes? Mix in a tablespoon of vanilla extract for each pint of paint you’re using. Stir it in well and paint away without those annoying paint fumes. The vanilla won’t affect your paint – provided you mix it well – and you’ll get to smell wonderful vanilla instead of paint fumes while you work.
I love painting, but the fumes are another story. Did you know that you can skip the fumes? Mix in a tablespoon of vanilla extract for each pint of paint you’re using. Stir it in well and paint away without those annoying paint fumes. The vanilla won’t affect your paint – provided you mix it well – and you’ll get to smell wonderful vanilla instead of paint fumes while you work.
Prep Rollers Before You Begin
We’re excited to share a tip to help you paint those walls flawlessly. Prepping the roller with warm water sets it, which helps it absorb the paint better, resulting in a much smoother and more beautiful finish. Let warm water run over your hand, and then brush the roller with it before you begin painting!

All you need is a little warm water in a bucket, a brush, and your roller. Just dip the roller into the water for about 30 seconds, then brush off any excess on a towel or rag before applying paint. And voila! Your walls will have never looked so good!
Store Rollers in Pringles Cans
If you’re planning on painting a room, you probably already know it’s essential to protect your belongings from paint splatters. But what about the tools you use to paint? You probably don’t want them covered in the paint, either. Plastic wrap also works. These mentioned painting tips work for either masking tape, latex paint, roller frame, painter’s tape, or roller cover.
A straightforward way to protect your tools? Please put them in Pringles cans! If you plan to reuse your rollers after you’ve finished painting, clean them and place them in a plastic bag before putting them inside a Pringles can. This keeps them from getting dirty or smashed by other objects, so they’re as good as new when you need them again!
Cover Paint Trays for Faster Cleanup
One of the worst things about painting is the cleanup. Those pans take forever to clean. Paint can be difficult to remove – even water-based paint. So, the next time you’re filling up that paint tray, take a moment to cover it with aluminium foil before you add the paint. The foil will keep the tray clean. When you’re finished with your paint job, remove the foil and throw it out – your tray will still look new!

This tip works exceptionally well if you’re using a brush or roller. When applying paint in this way, dip or roll your brush or roller in an old cup of water, then cover it with aluminium foil before dipping again into your paint pan. The foil will keep your brush or roller clean while allowing you to use less water than usual when cleaning them afterwards.

How to Avoid Roller Streaks?
Painting a room can be challenging, but the trick to avoiding unsightly roller streaks is constantly rolling in just one direction. This cannot seem easy on walls, but it’s always the best way to go.
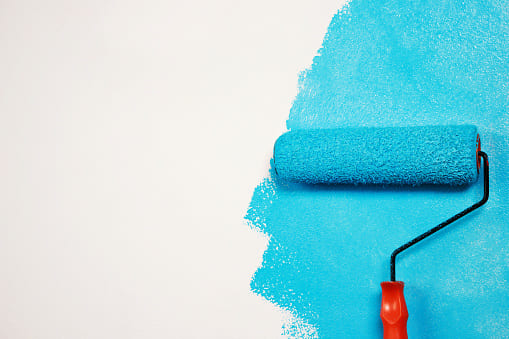
It’s essential when you’re painting furniture, as well. Keep your roller going in the same direction, and be sure you aren’t over-soaking the roller in the paint, which can cause drips, spills, and streaks.
Preserve a Brush with a Glove
When it comes to painting, you should be careful about many things. You don’t want to get paint on your hands—or worse, on your clothes! That’s why I like to wear disposable nitrile gloves when painting. They keep my hands clean and my brush from drying out whenever I take a break.
I grab the bristles with my gloved hand and then pull the glove over the wet bristles. A twist tie around the handle keeps the air out. It’s great because if you use a brush with a long handle, you can wrap the glove around it once or twice and tie it off. Leave enough room for another layer of gloves above this one, so there’s no chance of paint getting onto your skin when you’re working!
An Extension Pole Reaches New Heights
We’ve all done it—you’re in the middle of painting outside your house, and you realize that you need to get up on a ladder to reach the top of the wall. You go inside, grab the extension pole from your garage, and go back outside.

Except now you can’t reach it! What do you do? Throw away all your hard work and start over.?
No way! Instead, try an extension pole. They fit perfectly on a paint roller and give you more than enough length to reach those hard-to-reach spots. Plus, they’re usually only $10 or $20 instead of $30 or $50 for an adjustable extension pole.

If adjustability isn’t essential to you or you want to save money (who doesn’t?), try these push broom handles instead of spending extra money on an adjustable extension pole.
Brush Bristle Saver
You’re not alone if you’ve ever been frustrated by a paintbrush that refuses to hold its shape. It’s a common problem, but there are a few ways to keep your brushes in tip-top shape. The first step is to store them properly.
Use Q-Tips for Paint Smudges
Q-Tips are perfect for removing paint smudges from cleanings and accent walls. You’ll want to wet the end of the Q-Tip and then form it into a point. If and when you drip or smear paint in an area you shouldn’t, you can use those Q-Tips to remove the paint easily. You can also buy Q-Tips with those pointy tips if you want to spend the extra money. The cheaper ones from the Dollar Store work just as well if you form them into a point before you paint.
Without something to hold them in place, paintbrush bristles will curl or splay as they dry. The best way to store them is in the cardboard wrappers that they came in. They’re not just packaging; they maintain the shape of the bristles as the brush dries after cleaning. If you’ve already thrown your brush wrappers away, use paper and a rubber band instead.
Use Tape to Paint Perfect Lines
Masking or painter’s tape is excellent for helping you to get perfectly straight lines. This is important around those sharp corners, mainly if you paint an accent wall. Just line the edge with masking tape and then use an angled brush to get the paint in all the right places. Once you remove the tape, you’ll see those perfect sharp lines you want.
Tap, don’t wipe, to load your brush right.
Painting can be a messy business. You don’t want to spend all day cleaning up paint spills, but you also don’t want to have dry brushstrokes on your wall. So we’ve got some tips for you:
1. Always use a small container when working with paint.
2. Dip your brush into the paint, then wipe both sides off the container’s rim to remove excess paint before applying it to your wall. This will ensure that you only use enough paint for smooth application.
3. Tap the brush back and forth inside the can several times before applying it to the wall—this will help ensure that you have just enough paint for smooth application!

Skip Brush Cleaning between Coats
I’m a painter, and I have a lot of tricks up my sleeve.
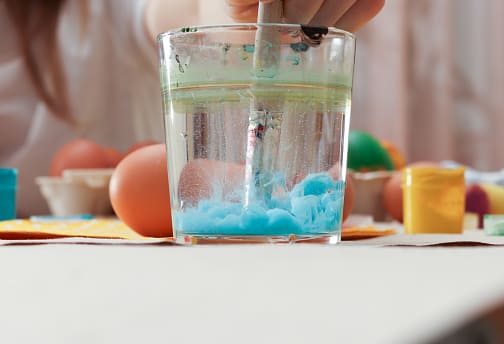
One trick is to keep my brushes wet when I’m not using them. Whenever I take a break from painting or if I’m done for the day, I toss my brushes into a 5-gallon bucket of clean water to keep them from drying out (make sure all the brushes have the same colour paint on them). Then, when I’m ready to start painting again, I swish the brushes around in the water and spin the excess out with a paintbrush-and-roller spinner. Do the spinning inside a second empty bucket to protect the surrounding walls from flying water drops.
Happy Painting

Irrespective of your home condition, experience, and passion for painting the walls, we bring paint hacks to make your painting job more perfect and doable. Now, you don’t need to hire someone to do the painting. Instead, you can do it by yourself.
Not only will they save you money, but they’ll also make your life easier and more enjoyable!
Get Good Quality Painting Tools from Paintbrusha
Paintbrusha supplies a wide range of painting tools, including paintbrushes and rollers.
Contact Paintbrusha today for your project!

