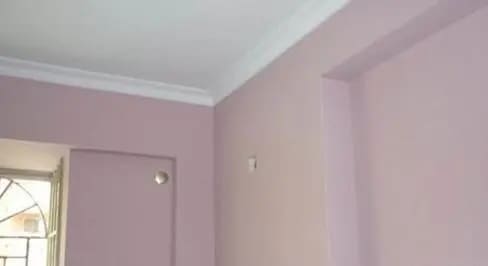
When painting the walls, we are generally very concerned about the walls, thus neglecting the small details of painting the corners. Painting the corners also requires more patience and care. After all, the corners are also a whole part of the home decoration and cannot be ignored because it is inconspicuous.
Corners are one of the most challenging parts of painting a room. They can be tricky and take longer than any other part of the job. This blog will mention how to paint a corner and the dos and don’ts of painting corners.

Main tools for painting
Paint brushes, a row of pens, open knives, rubber scrapers. Plastic scrapers; No. 0 and No. 1 sandpaper, 50-80 mesh copper wire sieves, pulp jars, large pulp buckets, small pulp buckets, large and small buckets, rubber hoses, pliers, lead wire, putty troughs, putty pallets, brooms, wiping cloths, cotton wool, Etc. The primary machines are spray guns, air compressors, paint mixers, sandpaper sanders, high stools, scaffolding boards, Etc.
How should I paint the corners?
- Basic treatment
Clean the corner of the wall and smooth it out with cement mortar. Use kraft paper tape and white emulsion to stick the cracks in cracked places.

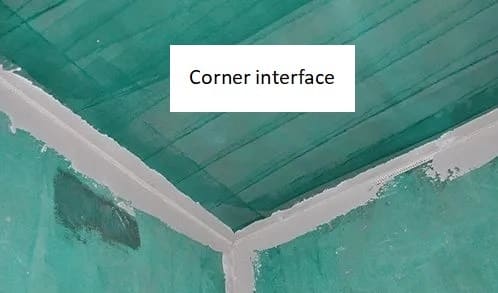
2. Brush the interface agent
Corner interface agents can enhance the bonding force of the grass-roots level, avoiding the phenomenon of plaster layer bulging and shelling, thus replacing manual chiselling treatment and saving time and effort. The brush interface agent must be brushed to brush evenly.
3. Corner levelling
Uneven corners need to be levelled, and uneven corners need to be levelled with stucco plaster so that the error of the corner is at most 3mm. If the corners are not straight, you should use plaster and a ruler to lean straight.
4. Patching putty
Choose a putty with a high granularity and a hard texture. The first coat is generally thicker because it involves levelling. The second and third coats should be thinner to make the corners look more smooth and flat. After three times, the thickness of the putty should be at most 3mm. Otherwise, it will be easy to crack.

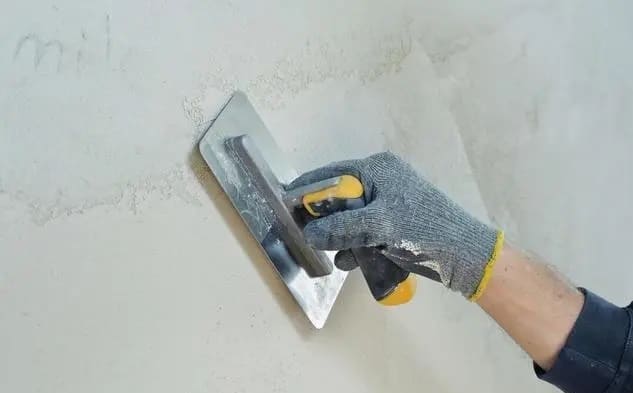
5. Sanding
The paintwork step is critical in Yanggu roof insulation coating, sanding is good, and the effect of painting can be good. Try to use fine sandpaper. If the sandpaper is too coarse, it will leave deep sanding marks. After sanding, clean the corners thoroughly to avoid too much dust, which can affect the adhesion of the paint. The difference between bump and dent should be at most 3mm.

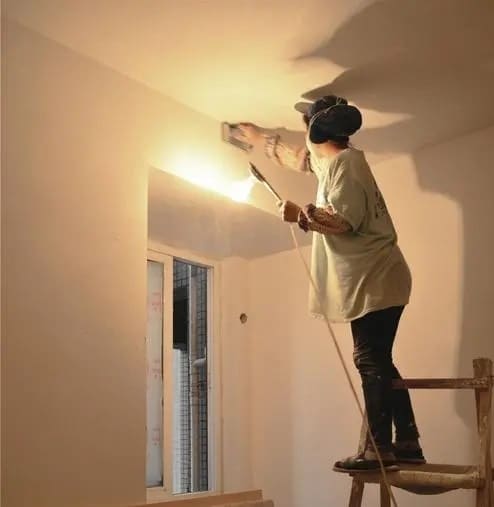
6. Brush primer
Use a paintbrush, and the primer must be brushed evenly to ensure that every wall part is brushed. If the wall eats a more significant amount of paint, the primer is better to add a little more water to ensure that it can be painted evenly.

7. Fixing
After sanding the putty, there will be some imperfections, which are usually difficult to see and will only be evident after painting once. This is an excellent idea to make sure that the wall is smoothly sanded and then painted with a slightly more water-based primer to avoid colour differences when painting the corners because of the difference in water consumption with other walls.
8. Brush the corners of the walls
Only adding a little water will affect the thickness of the paint film, feel and hardness of the paint film. Try to choose a good tool; painting mainly pays attention to the corner of the wall in the middle of each roll stubble part and the direction of the paint. Corner paint generally needs to brush two times on it.
The corner of the paint has some attention points.
1. Corner sanding is significant, generally a batch of three layers of putty. After sanding once, when you put on the primer, make up the pits and sand again, and after you have put on one side, you have to check and make up again and sand again.
2. After sanding the corners, that is, before painting the primer, you must clean the dust. If cleaning is inconvenient, you can also use a hair dryer.
3. Strictly the interval to brush the wall paint time to brush do not because of rush.
4. Corner waterproofing treatment must be done. Waterproofing is generally the corner of the bathroom and kitchen. These two spaces are long-term wet moisture from behind the wall, which will lead to blistering of the paint film, so be sure to do an excellent job of waterproofing.
5. Corner painting must not add water, especially dark wall paint. Do not add water!
The above is all the knowledge about painting the corners and some of the cautions for painting the corners; we must follow the above methods when dealing with corner painting. Otherwise, a little inattention will bring trouble in the future, and I hope these above contents can be helpful to you.