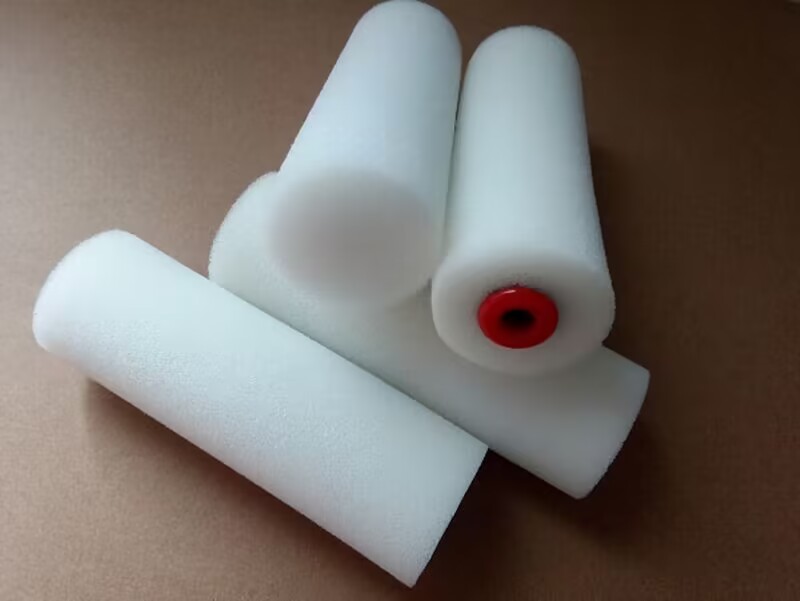
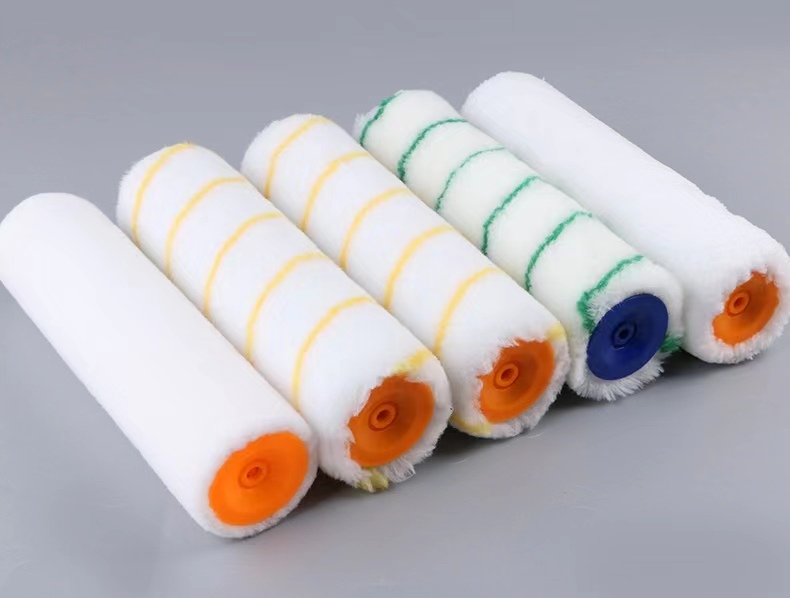
If you’ve ever painted a room or surface, you’re probably familiar with roller sleeves. Roller sleeves, also known as roller covers or refills, are cylindrical materials that attach to a paint roller frame and apply paint or other coatings to surfaces.

Roller sleeves are available in various materials, sizes, and thicknesses to accommodate different paints and surfaces. The most common materials for roller sleeves include synthetic fibres, such as polyester or nylon, and natural fibres, such as lambswool or mohair.
Roller Sleeves Materials

Synthetic roller sleeves are typically less expensive and more durable than natural fibre ones. They also work well with water-based paints and coatings, as they don’t absorb as much moisture and are easier to clean. However, synthetic sleeves may leave behind a slightly stippled or textured finish.
On the other hand, natural fibre roller sleeves are typically more expensive and less durable than synthetic ones. They are often used with oil-based paints and coatings, which can hold more paint and provide a smoother finish. However, natural fibre sleeves require more care and maintenance, as they can shed fibre and may need to be cleaned with solvents.
Roller Sleeves Sizes

Roller sleeves also come in different sizes and thicknesses to accommodate different surface textures and paint types. Thicker roller sleeves are better suited for rough surfaces, such as stucco or textured walls, while thinner sleeves are better for smooth surfaces, such as drywall or wood.
How to Choose a Roller Sleeve?

When selecting a roller sleeve, it’s essential to consider the type of surface you’ll be painting and the type of paint or coating you’ll be using. It’s also a good idea to choose a roller sleeve with a nap length that matches the texture of your surface. A nap length refers to the length of the fibres on the roller sleeve and can range from short (3/16 inch) to long (1 inch or more).
If you’re unsure which roller sleeve to use for your project, consider consulting with a paint professional or researching online to find the best option. Some manufacturers even offer roller sleeves specifically designed for certain paints or surfaces, which can help you achieve optimal results.
How to Use a Roller Sleeve?
Slide it onto a paint roller frame using a roller sleeve, ensuring it fits snugly and doesn’t wobble. Dip the roller sleeve into your paint, then roll it back and forth in the paint tray to remove any excess. Begin rolling the paint onto your surface in a zigzag pattern, then use long, smooth strokes to even out the paint and create a uniform finish.
After painting, remove the roller sleeve from the frame and wash it thoroughly with soap and water (or solvent if using a natural fibre sleeve). Allow the roller sleeve to dry completely before storing it to prevent mould or mildew growth.
Roller sleeves are an essential tool for any painting project. They come in various materials, sizes, and thicknesses to accommodate different surfaces and paint types and can help you achieve a professional-looking finish. With the right roller sleeve and some practice, you’ll be painting like a pro in no time!
After painting, it’s essential to maintain your roller and sleeve properly to ensure they last as long as possible. This includes washing the sleeve thoroughly after each use, storing it in a dry and cool place, and replacing it when it shows signs of wear or damage.
One common issue with roller sleeves is shedding, which can leave unwanted fibres or debris on your painted surface. To prevent shedding, use high-quality roller sleeves and avoid applying too much pressure when rolling. If shedding does occur, you can try gently removing the fibres with a lint roller or painter’s tape.
Another consideration when using roller sleeves is their texture or finish. Some roller sleeves are designed to leave a textured or stippled finish, which can be desirable for certain surfaces or decorative effects. However, if you’re looking for a smooth, even finish, choose a roller sleeve with a shorter nap length and use light pressure when rolling.
So roller sleeves are a versatile and essential tool for any painting project, but choosing the right one can make all the difference in achieving a professional-looking finish. By considering factors such as material, size, and texture and adequately maintaining your roller and sleeve, you can achieve optimal results and make your next painting project successful.
How to Wash and Maintain Roller Sleeves?
Roller sleeves are an essential tool for any painting project. Still, to keep them working effectively and lasting as long as possible, it’s essential to maintain and clean them properly. How to wash and maintain roller sleeves to ensure optimal performance?
Step 1: Remove Excess Paint
Before washing your roller sleeve, removing as much excess paint as possible is essential. Start by rolling the roller over a paint tray or bucket to remove excess paint. Then, use a scraper or putty knife to remove any remaining paint on the roller sleeve. This will make cleaning the roller sleeve easier and prevent paint from clogging up your drain.
Step 2: Wash the Roller Sleeve
To wash the roller sleeve, start by filling a bucket or sink with warm water and a small amount of dish soap or paint thinner, depending on the type of paint you are using. Avoid using hot water, as this can cause the fibres of the roller sleeve to melt or deform.
Next, gently swirl the roller sleeve in the soapy water, using your hands to work the soap into the fibres. Rinse the roller sleeve thoroughly with clean water until all soap residue is removed.
Using a natural fibre roller sleeve, you might need a specialized cleaner or solvent to remove any remaining paint. Follow the manufacturer’s instructions carefully, wear gloves and work in a well-ventilated area.
Step 3: Dry the Roller Sleeve
After washing the roller sleeve, use a clean towel or cloth to squeeze out any excess water gently. Avoid wringing or twisting the roller sleeve, as this can damage the fibres or cause them to lose shape.
Hang the roller sleeve to dry in a well-ventilated area, preferably in a warm and dry location. Avoid drying the roller sleeve in direct sunlight or near a heat source, as this can cause the fibres to shrink or melt.
Step 4: Store the Roller Sleeve
Once the roller sleeve is completely dry, store it in a dry, cool place to prevent mould, mould, or mildew growth. Avoid storing the roller sleeve in a plastic bag or another airtight container, as this can trap moisture and promote bacterial growth.
Consider using a roller sleeve storage rack or hanging the roller sleeve on a hook or peg to keep it organized and easily accessible for your next project.
So washing and maintaining your roller sleeves is essential in keeping them working effectively and lasting as long as possible. Following these simple steps, you can ensure your roller sleeves are clean, dry, and ready for your next painting project.
Tips to Help You Wash and Maintain Your Roller Sleeves
Here are some additional tips and best practices to help you wash and maintain your roller sleeves:
- Clean your roller sleeves immediately after use to prevent paint from drying and hardening in the fibres. The longer you wait, the harder it will be to remove the paint.
- After washing, use a comb or brush to remove any stubborn paint or debris from the roller sleeve.
- Avoid using fabric softeners or bleach when washing your roller sleeves, as these can damage the fibres and reduce their lifespan.
- If you’re working with multiple colours, consider using separate roller sleeves for each colour to avoid cross-contamination.
- If you don’t have warm water or dish soap access, consider using a specialized roller cleaner or solvent to clean your roller sleeves.
- If you notice any wear or damage, such as shedding fibres or flattened naps, consider replacing the roller sleeve to ensure optimal performance.
Following these tips and best practices, you can keep your roller sleeves in top condition and ensure they’re ready for your next painting project. Remember, proper maintenance and cleaning can save you time, money, and frustration in the long run and help you achieve the best possible results.
Get Good Quality Roller Sleeves from Paintbrusha

Paintbrusha offers a variety of roller covers to suit different surfaces, paints, and textures. Our roller covers come in different sizes, nap lengths, and materials so that you can find the perfect match for your specific project. Whether you’re painting walls, ceilings, or furniture, Paintbrusha has a roller cover that can help you achieve a professional-looking finish.
One of the advantages of Paintbrusha’s roller covers is their durability and longevity. Made from high-quality materials such as microfiber, lambswool, and synthetic blends, our roller covers are designed to withstand multiple uses and provide consistent results. Our roller covers are also easy to clean and maintain, saving you time and money in the long run.
Another benefit of Paintbrusha’s roller covers is their versatility. Our roller covers can handle the job using latex, oil-based, or speciality paints. Depending on your preferences, we also offer roller covers with different nap lengths, which can help you achieve a smooth, even finish or a textured, stippled effect.
In addition to our quality roller covers, Paintbrusha also offers excellent customer service and support. Our team is knowledgeable about our products and can help you find the perfect roller cover. We also offer fast and reliable shipping, so you can get your roller covers on time and start your painting project immediately.
Overall, if you’re looking for a high-quality roller cover for your painting needs, Paintbrusha is an excellent choice. Our range of roller covers, durability, versatility, and excellent customer service, make them a top pick for professional and DIY painters. Try to see the difference a quality roller cover can make in your next painting project.
