If you’re looking to give your walls a fresh coat of paint, you may wonder if you should use a roller or a brush. For prominent places, a paint roller is the first choice because it helps to speed up the job.
This blog post will share how to paint with a roller like a pro!

1. What You’ll Need
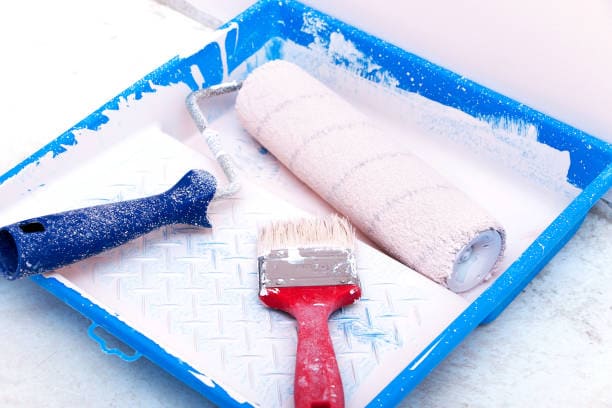
A roller, paint tray, paint, and drop cloths.
To get started, you’ll need to gather a few supplies. You’ll need a roller, a paint tray, paint, and drop cloths. Drop cloths are essential to protect your floors from any spills or drips.
If you’re using an oil-based paint, you’ll also need mineral spirits to clean your roller in between coats.
Using water-based paint, you’ll need soap and water to clean your roller.
And finally, if you’re using latex paint, you’ll need warm water and laundry detergent to clean your roller.
Now you have all of your supplies, let’s get started!
2. How To Paint A Wall With A Roller
Roller brushes are mainly used for painting interior and exterior walls with emulsion paints, water-based paints, and advanced wall coatings. The final effect of the roller brush is determined by its rolling sleeve. The bristle sponge roller is used for thick-paste and elastic paint in three-dimensional bristle effect construction. A rubber roller is generally used to roll the wall pattern. The velvet roller is the most commonly used roller coating tool. Want to let the roller play its ideal paintbrush effect? The construction staff must master the use of the roller brush; the following will give you the correct use of the roller brush and skills.
1) Before Rolling the Coating

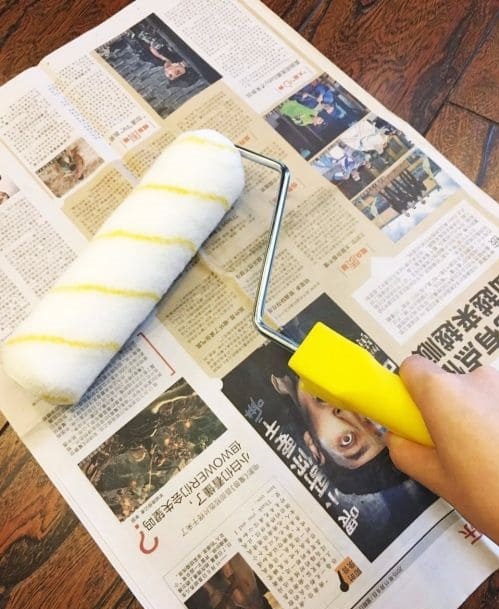
Clean the floating lint, moisten the lint with water or thinner and shake off the water, roll a few times on the waste paper to remove the excess liquid and then take the paint.
2) When Coating

Just dip half of the roller brush into the paint, then roll it back and forth on the roller tray screed board several times until it contains the material evenly.
3) When Rolling

If the roller brush is relatively dry, then roll the surface of the roller brush gently. Each time the width of the roller brush is about four times the length of the roller, and make one-third of the roller width overlap. The roller brush should be used evenly at both ends, and when it contains more material at the beginning, the rolling strength can be a little lighter, and then slowly increase the strength.
4) After the Roller is Finished, the Painting Work

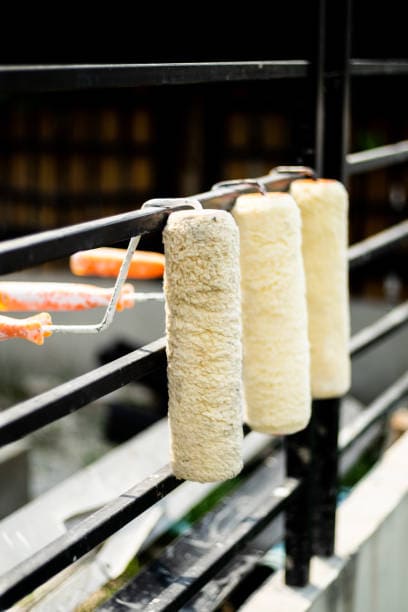
Put the roller upright on the table or floor, take the roller sleeve out of the bracket, clean the roller and put it in a ventilated place to dry.
3. Tips for Painting with a Roller
Now that you know how to paint with a roller, here are a few tips to make the job even more accessible:

– Use a high-quality roller. Cheap rollers will shed and leave lint behind. This will make your paint job look sloppy.
– Start with an empty roller tray. Pour your paint into the tray as you need it. This will prevent your paint from drying out.
– Use a roller screen to remove any lint or debris from your roller before you start painting.
– When you’re finished painting, clean your roller immediately. If you let the paint dry on the roller, it will be tough to clean later.
4. How to Clean Your Roller
You can get more information from our blog
7 Tips to Clean Paint Brushes and Rollers
5. Roller Painting Mistakes to Avoid
Now that you know how to paint with a roller like a pro, there are a few mistakes you should avoid:
– Don’t overload your roller. This will cause the paint to drip and run.
– Avoid painting in direct sunlight. The heat will cause the paint to dry too quickly and make it challenging to apply evenly.
– Don’t paint over dirty surfaces. This will cause the paint to adhere unevenly and lead to bubbling or peeling.
– Avoid using old or worn-out rollers. This will make it challenging to apply the paint evenly and can also leave lint behind.
