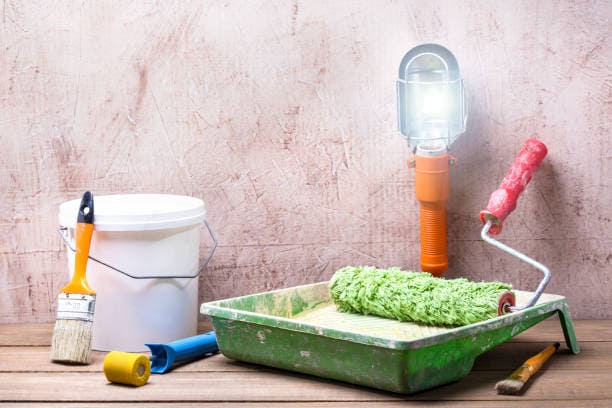
Learn how to properly clean your paint brushes, rollers and trays to save money and time. These seven tips for cleaning paint brushes and rollers will benefit your next DIY paint project.
When it comes to painting, a high-quality paintbrush may make all the difference in the outcome of your work. It’s only logical that you’d want to extend the life of your painting tools after making such a significant investment in them. To avoid ruining brushes and rollers, you must clean them thoroughly after each use—and if you don’t, they could be destined for the trash or, at the absolute least, compromised for future painting jobs.
What Professional painters say: An investment in high-quality paint brushes is squandered if they are not properly cleaned and preserved after use. And if you do not clean them properly and keep them dirty, this will, indeed, might leave your paint with specks of paint in your brushes—which will lead to an unsatisfactory finish on your next project—as well as malformed bristles.
Thus, pro painters always clean their paint brushes and rollers before closing the job. So invest the extra two minutes in doing the job well and following our guide on how to clean paint brushes & paint rollers.
Pre-Steps Before Cleaning Paint Brushes & paint rollers
- Take a break, and don’t leave your paintbrush or roller in a pool of wet paint when you’re done. We recommend that homeowners who use a roller and paint tray throw away the entire set—but not in a literal sense. “Make use of a typical waste bag and place everything in it—the tray, the roller handle, with roller and brushes. “Be sure to close it tightly, so the air doesn’t get out.”
- To prevent paint from drying, experts recommend that painters store used brushes and rollers in plastic bags or plastic wrap that is tightly wrapped to prevent any air from coming into contact with the paint. “Wrap your tools and store them in the refrigerator if you plan to use them again in the morning. Ensure the tools are warmed to room temperature before using them the following day.”
- You can do a few things before painting to get the most out of your high-quality tools. A plastic liner or wrap can make cleanup a breeze if you run your hands over the bristles of your Brush several times to remove any stray hairs that can get into your paint. This is a new one, right? It’s not what you think when you think of painter’s tape.” Before using a new roller for the first time, tape the entire roller in blue painter’s tape and then remove it. Before painting, you should “defuzz” your roller so that you don’t end up with fibres in your paint or on the walls when you get started.
Tips to Clean Paint Brushes
I know this isn’t what you were hoping to hear, but post-painting cleanup is essential. We know you’re tired and want nothing more than an iced coffee and a Netflix binge right now, but keep your chin up and clean your paintbrushes and rollers one more time before you call it quits. If you wait until the paint is completely dried, you risk damaging your tools and making the process even more difficult. It’s crucial to wash your brushes after each use. Therefore I try to do so as soon as I’m finished painting.
1). Use all Paint on the Brush
It’s best to use up all the paint on your Brush while painting anything.
As you lift, the paint can squeeze out other paint by pressing the bristles against the interior. When you’re done painting, put the rest on a newspaper to make Brush cleaning a breeze.
2). Use of Paint Thinner
Using your Brush for more than one or two strokes may cause the paint on the bristles to dry, making it more difficult to remove. In these situations, employing paint thinner is an excellent option. When it comes to cleaning paintbrushes, mineral spirits are the go-to solution. Exceptional quality and compatibility are ensured by using only the purest mineral spirits.
Paint thinner makes it easy to remove oil and pigment from brushes without damaging their bristles. With a paint thinner, you won’t have to worry about accidentally mixing up colours when painting again.
3). Use Of Appropriate Paint Removal Tools
As a next step, determine which solution is appropriate for the paint. Can you open it? Dry paint is easily loosened with a suitable solvent. The wrong one will likely be of no help at all. Depending on the paint you’ve used, fill a small bucket with one or more of the following:
To remove oil-based paint, use mineral spirits or turpentine.
Brushes used to apply latex paint should be cleaned with hot water and a little liquid dish detergent.
4). Immerse Paintbrush in Solvent
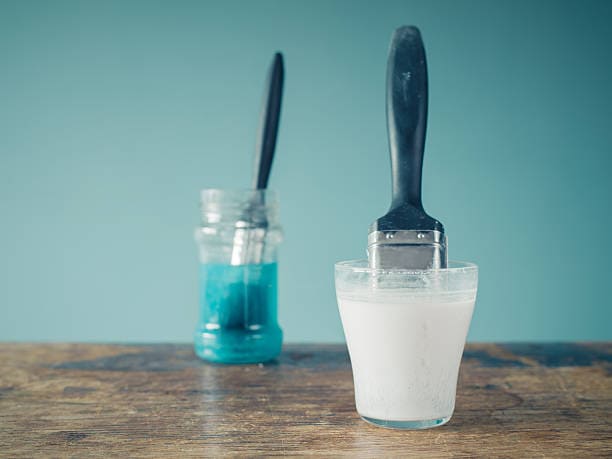
Make sure the paintbrush is wholly submerged in the solvent before using it.
You can do this by wiping and squeezing the bristles on the container’s sides using a brush for about 10 seconds. Using a brush comb, comb through the bristles to remove excess paint without hurting the hair. Brushes that have begun to dry out may necessitate soaking the Brush.
5). Wash with Warm Water or Vinegar
Rinse it in a utility sink or pail of warm, soapy water to remove any residue.
After the paint has been removed from the Brush, warm soapy water can remove the solvent and any leftover paint from the Brush.
Vinegar is a multipurpose household staple that may be used in various ways. Another reason you should keep it in a specific spot in your home is here. Hot vinegar can clean a paintbrush after painting or the following day. Using vinegar to clean your paintbrush ensures it is ready for your next painting session.
Then, pour it into a container of your choice and cook it for a few minutes.
Take a brush and dip it in the vinegar. Allow the paintbrush to remain on the vinegar for at least 20 minutes to soften the paint. The bristles shouldn’t be touching the sides of the Brush. In this way, you can rest assured that the bristles will not become distorted. The previous paint may be scraped off with your fingertips. Do not use excessive pressure when repeating the process to avoid damaging your Brush.
6). Another Option: Use Dish Wash Bar
Clean your paintbrush with your dishwashing bar. You may be asking why dishwashing soap is on this list of home items. To put it another way, dish soap has the same impact on pigments and oils as paint thinner. In the same way that your utensils get clogged up with food debris, the two are efficiently separated by the cleaning agent.
After using your paintbrush, use your hands or a brush comb to remove the paint from the bristles. Brush bristles should be completely submerged in a bucket of soapy water. A few drops of liquid dish soap. To clean the Brush, put it in a bowl of soapy water. Until the Brush is clean, rinse it with clean water and replace the dirty water.
You won’t have to toss your useless, dried-up paintbrushes anymore. You can repurpose it as often as you like using the above approaches.
7). Shake & Lay the Paintbrush Well before Storing
Please remove all the water from the bristles of your paint brushes before storing them. To dry the Brush, many do-it-yourselfers use a cloth or newspaper to clean it after shaking it at the top of the bucket.
On the other hand, a brush and roller spinner is helpful for individuals who plan to paint a lot and want to protect their instruments.
Paint brushes storing method.
Centrifugal force is used to speed-dry either style of paint applicator with this multipurpose equipment. Attach a paintbrush to its bottom, then pump the tool’s top several times to spin it and fling all water out of its business end.
It is practical to hang paint brushes from pegboards in a workshop or craft room, and it also keeps the bristles from getting bent when jammed into bins. To keep your paintbrush in good shape and get the most out of it, it’s a good idea to replace the wrapping on it from time to time.
Clean Water-Based Emulsion off a Paint Roller
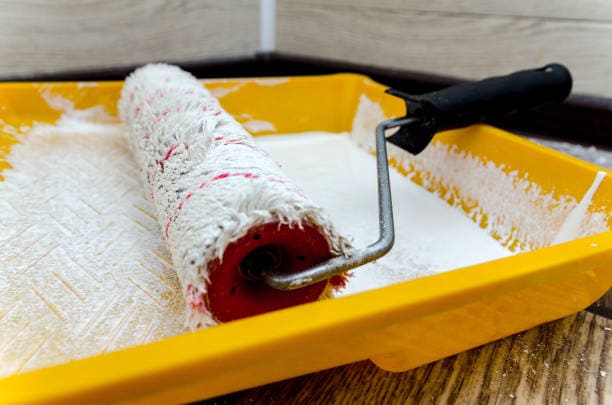
1). Remove excess paint
Clean the roller by removing as much paint as possible before you begin cleaning it. Make use of a newspaper or magazine to paint as much as possible. Use a paint scraper or a putty knife to reduce waste. A scraper or a roll and Brush cleaner can scrape down paint off the roller and into the paint tin or container while the roller is held upright.
2). Start Washing
The next step is to clean while the water is flowing. Remove extra paint by running the water and putting on rubber gloves before squeezing the roller. Now, place the roller horizontally on the surface while the water is running. This will set the roller in motion, and you should keep doing this until the water flows clear at the end of the roller.

Repeat the procedure of squeezing until no more paint oozes from the roller. As the last step, try to press out as much water as possible. Afterwards, take the sleeve from the roller, and lay it upright on a flat surface to dry.
3). Frame Cleaning
There is also a need to clean the roller frame and the handle. Using a kitchen sponge and soapy water, scrub the handle and frame thoroughly before rinsing and drying them.
Wash Oil-Based Paints Off a Roller
4). Remove excess paint
Remove as much paint as possible in the first stage. Don’t start anything without rubber or disposable gloves on your hands. Scrape the paint into the can it came from with a paint scraper or a rush and roller cleaner tool.
5). Roll in solvent
Clean your rollers using white spirit or a brush cleaner about the same depth as the rollers. To loosen the paint, roll the roller back and forth in the container for 15-20 seconds. Remove the roller and use a scraper to remove any remaining paint.
6). Change to Fresh Solvent
Repeat the previous process by emptying the old solvent into a fresh container and adding a new solvent. To remove the paint, use this method. Once more, collect the used solvent in a container and store it safely. The solvent can be reused after the paint has settled to the bottom.

7). Wash and Dry
Wash the dried paint on the roller in warm soapy water and squeeze dry to eliminate any solvent residue. To complete, rinse the roller thoroughly under running water to remove any soap scum. Air-dry by squeezing dry and placing it on its end. Finally, remove the sleeve and use a rag or paper towel to clean the frame in a solvent.
How to Get Hard Paint off a Roller
Start by rinsing out the can and refilling it with any remaining paint (to limit waste, calculate how much paint you need ahead of time). Push the paint into the tin using a roller or a brush. Use a kitchen scrubber/sponge and warm soapy water to remove as much water-based paint from the tray as possible if you’re using it. Place upside-down in a well-ventilated room to dry.

White spirit or brush cleanser can be added to the paint tray to loosen oil-based paints. Paint and solvent can be emptied into a jar and reused. With soapy water and a kitchen sponge/scraper, scrub the surface thoroughly.
Disposable tray liners can save you time and effort by preventing the need to clean your paint tray after each use. When you’re done painting, remove them from the tray and toss them in the trash. There will be no messes or commotion.
What is Next: Always Invest in Quality Paintbrushes & Rollers
A good rule of thumb is to invest in high-quality tools if you want to look like a paint-savvy pro. You’ll need to invest in high-quality paint brushes and rollers to get a smoother, more professional finish on your walls.” Make sure you’re using high-quality tools and paint. In addition to making your paint job seem better, it will make painting more accessible and durable for you and your tools.
A wooden handle and metal ferrule (the part that connects the bristles to the handle) are preferable because plastic parts are more prone to breakage when used frequently. ” If you’re looking for soft, split, or fuzzy ends on your bristles, you’re looking for “flagged” bristles, which may seem paradoxical.
When cutting in, the texture is smoother, and the lines are sharper.
In addition, we propose paintbrushes with densely packed nylon and polyester bristles, which work together to maintain their shape and durability.
To get the best results with rollers, it’s essential to find the correct nap length for your painting surface. A shorter nap (generally 18 inches to 14 inches) is suitable for extremely smooth surfaces, whereas a longer nap (about 34 inches) is required for more textured ones (like brick). It would help if you also chose a strong paint tray with a ribbed bottom to ensure that the paint is uniformly distributed onto the roller. Find quality paintbrushes and paint rollers: Paintbrusha can make your next paint project easy with its high-quality paintbrushes, paint roller, roller frame and roller cover products!